The Anatomy of a Great Kitchen Island
Ask a homeowner what they want most from a kitchen remodel and the answer is almost always the same: a bigger, better island. It's where the family lands after school, where guests gather during a party, where dinner gets prepped and homework gets done. But a great island isn't just a bigger rectangle, it's a series of dimensions, clearances, and finish decisions that have to line up. Get them right and the island becomes the heart of the house. Get them wrong and you've built a beautiful obstacle. Here's how we approach it.
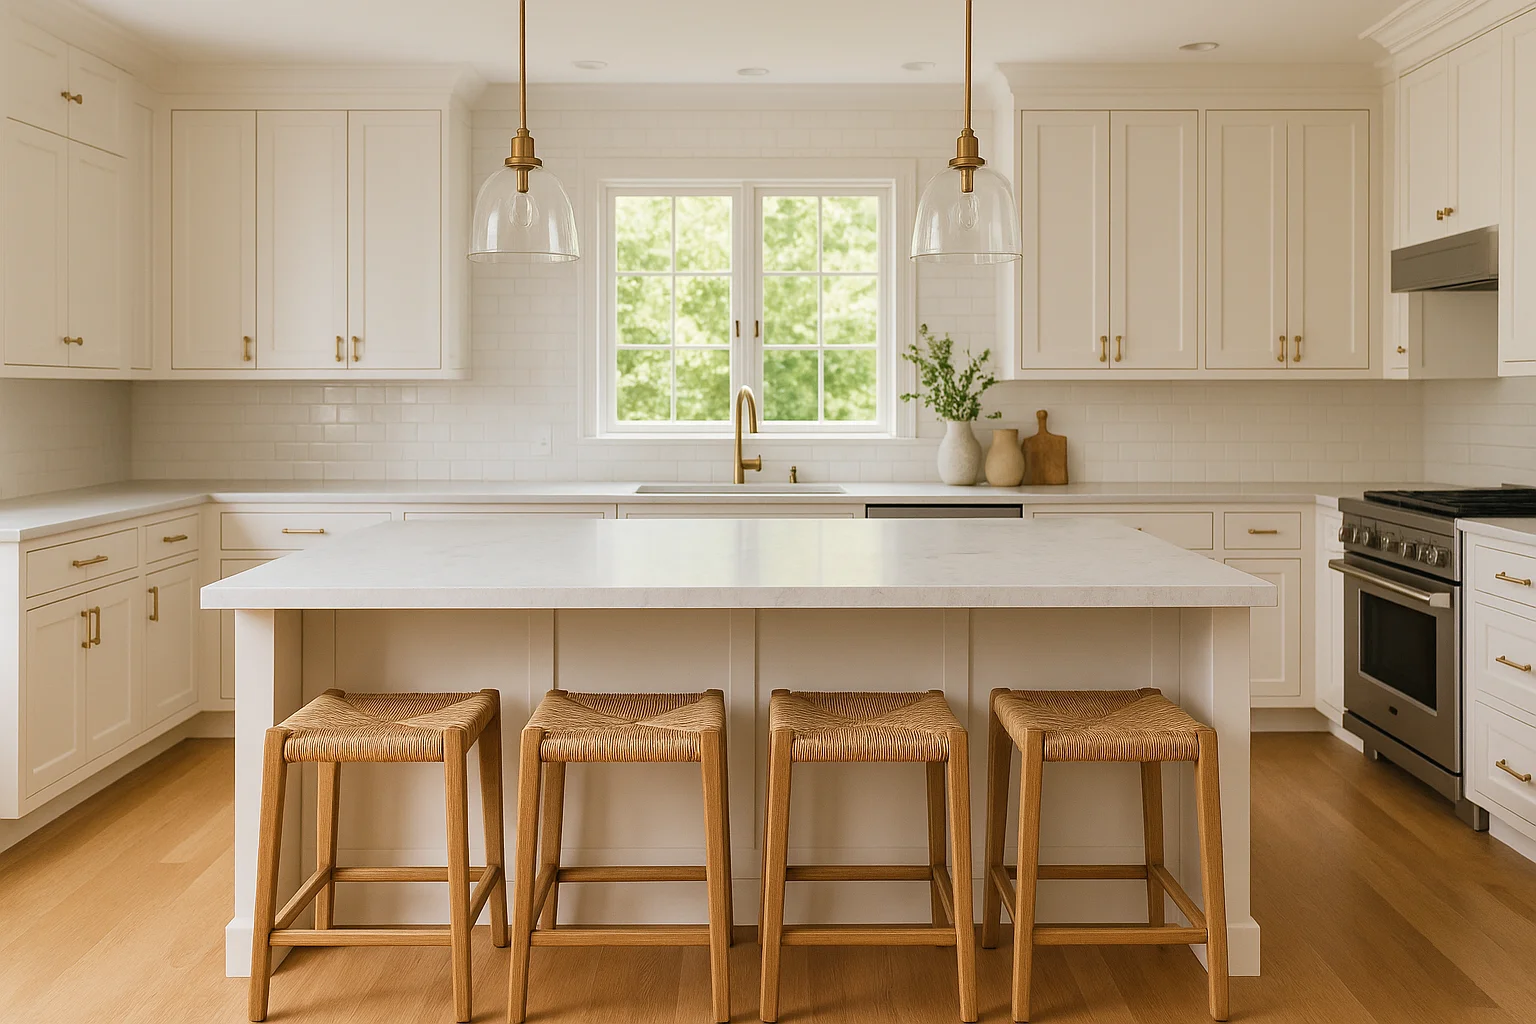
An island sized to seat four, lit by a pair of pendants
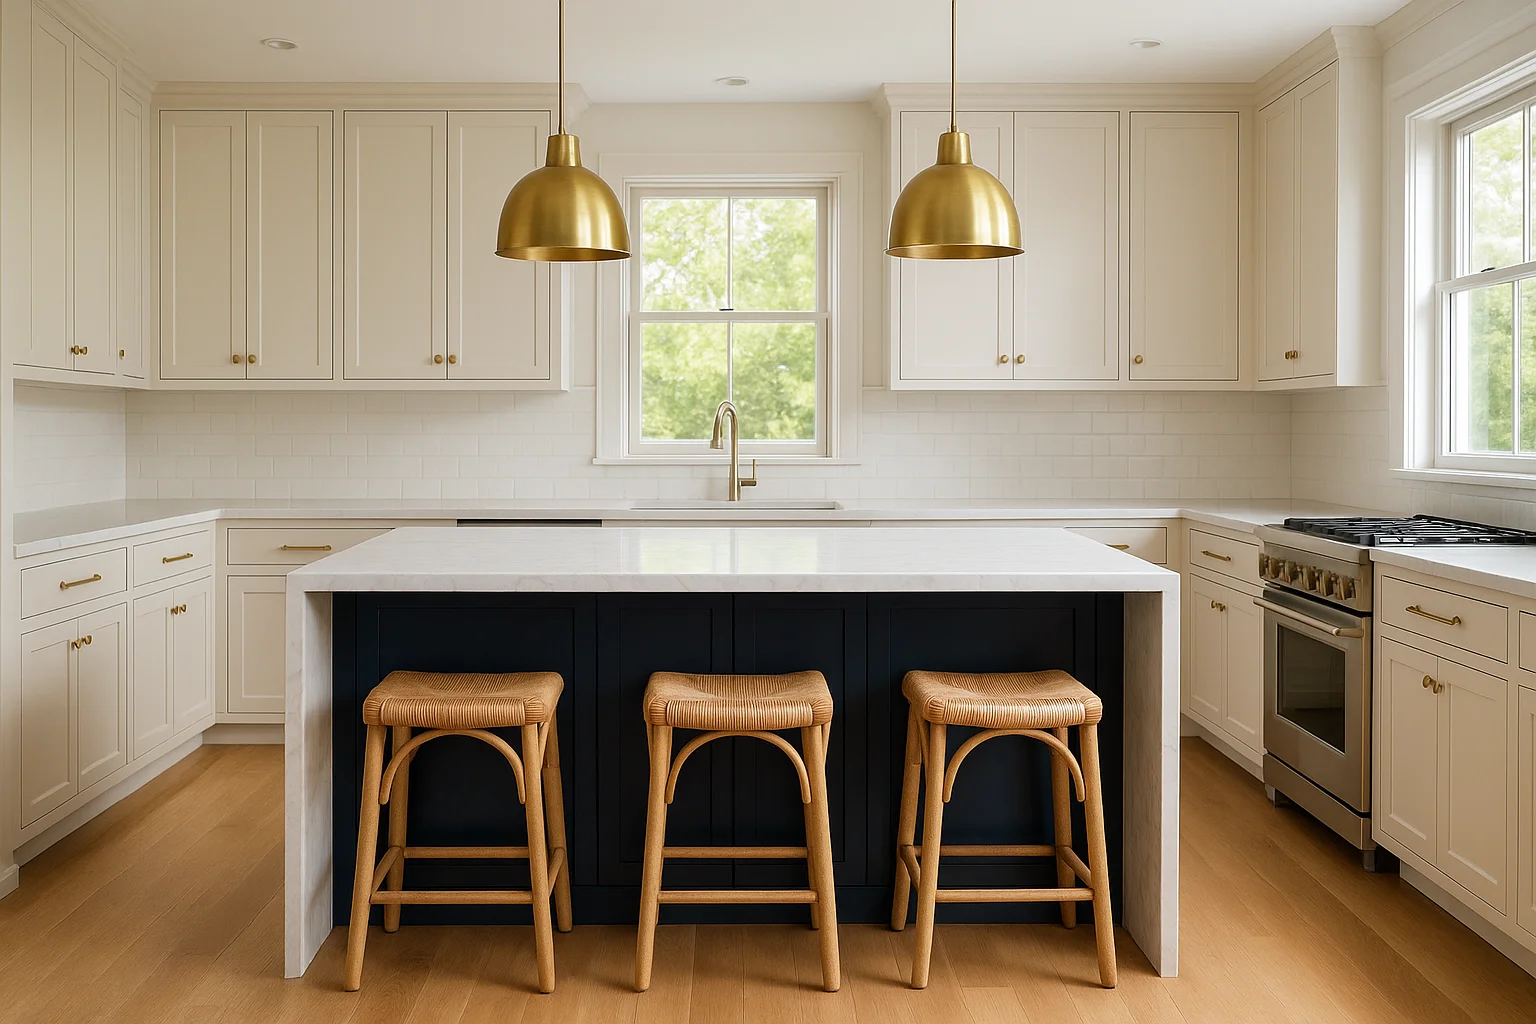
A navy island anchors a creamy white kitchen
Clearance Comes Before Size
The most common island mistake we're called in to fix is one that's simply too big for its room. Before we draw a single dimension of the island itself, we draw the aisles around it. We want a minimum of 42 inches of clearance between the island and the surrounding counters, and 48 inches where two cooks pass or an appliance door swings open into the walkway. Tighten those aisles and the island chokes the kitchen's circulation no matter how gorgeous it is. Only once the walkways are protected do we size the island to fill what's left, usually landing somewhere around four feet deep before the room starts to feel crowded.
Seating People Actually Use
An island with stools photographs well, but seating that's comfortable to sit at takes real planning. For a standard 36-inch-high counter, you need a 12-inch overhang so knees have somewhere to go; pull-up seating that skips the overhang leaves everyone perched awkwardly at the edge. Budget about 24 inches of width per stool so shoulders aren't touching, and decide early whether you want counter-height or bar-height seating, mixing the two on one island rarely looks intentional. We talk through how the family really eats before specifying a single stool, because the right number of comfortable seats beats a longer row of cramped ones every time.
The Two-Tone Move
One of the most-requested looks in our studio is the contrast island: light perimeter cabinetry paired with an island in a saturated color, navy, charcoal, sage, or greige. It breaks up a long run of cabinets, gives the room a clear center of gravity, and lets clients commit to a bold color on one piece instead of the whole kitchen. The trick is keeping the door profile consistent so the contrast reads as deliberate rather than pieced together. We get into the full logic of this in our guide to choosing a cabinet door style, and it pairs beautifully with the warm-metal hardware we wrote about in our gray Shaker and brass post.
Waterfall Edges and the Stone Question
A waterfall edge, where the countertop turns the corner and runs all the way to the floor, is the detail that makes an island feel architectural. It works best with a stone that has enough movement to reward the eye as the veining cascades down the side, which is exactly why slab selection matters so much here. A busy quartzite or a dramatic marble-look quartz earns the waterfall; a quiet, uniform stone mostly just gets more expensive. We walk every client through how these materials actually live in our countertop guide before committing to the look.
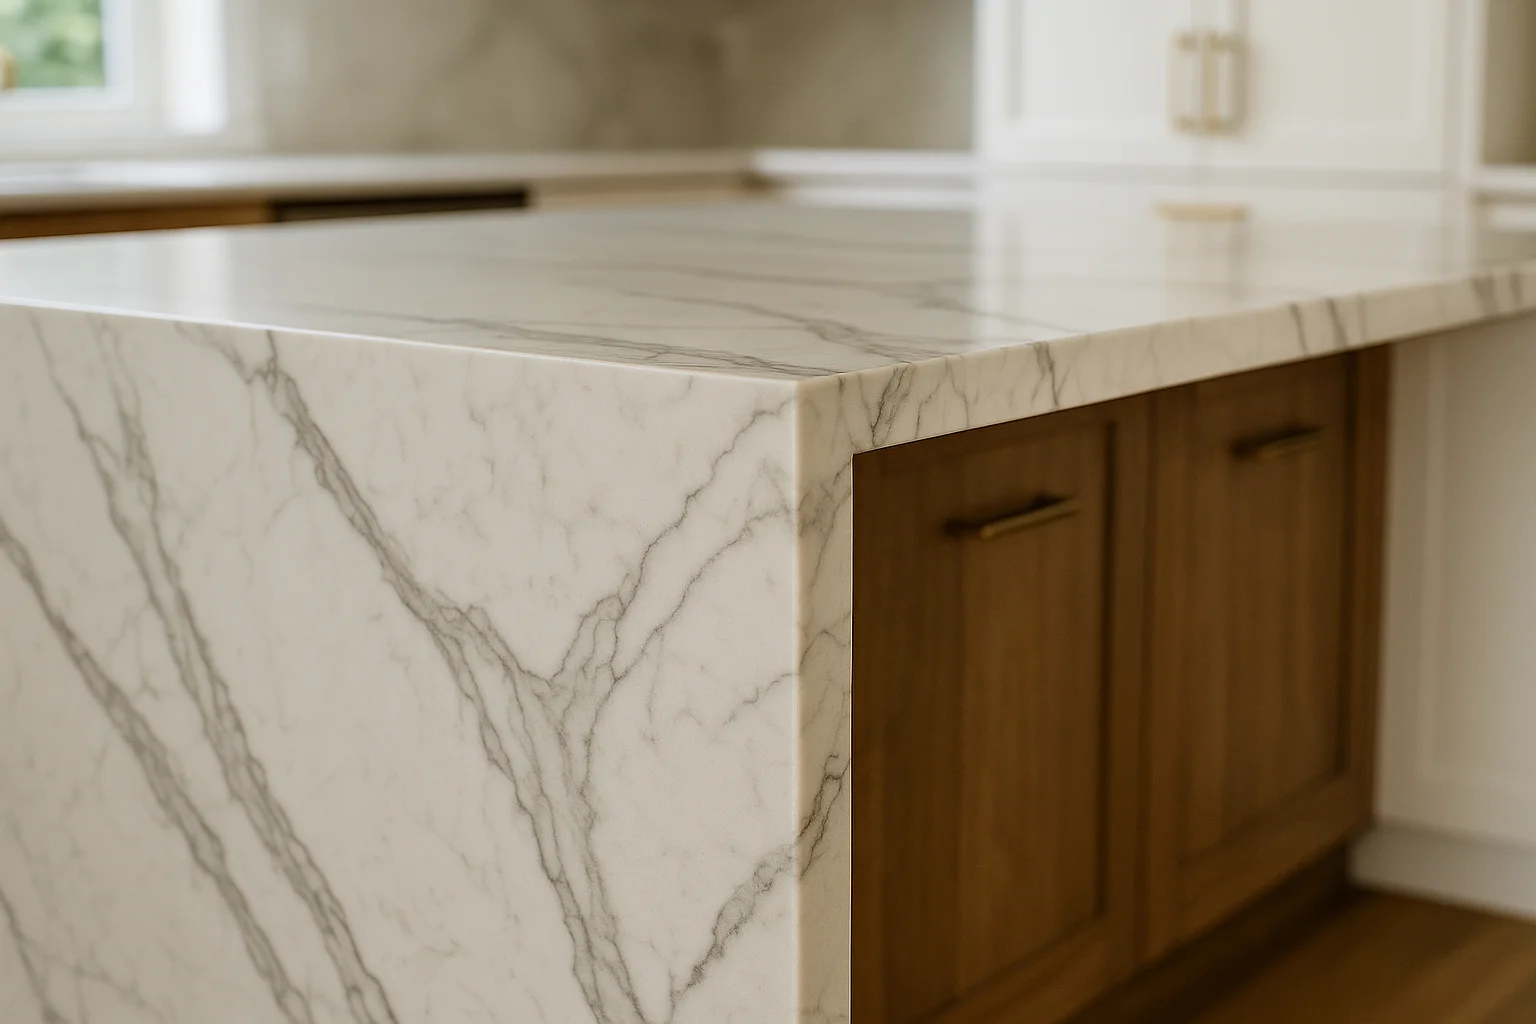
Veining that wraps the corner and falls to the floor
Seating, storage, and color in one piece
Give the Island a Job
The best islands are designed around a primary function rather than treated as leftover counter space. Is this the prep zone, with the main sink, a prep sink, and trash pullouts close at hand? The gathering zone, built around seating and a beverage drawer? Or the storage workhorse, with deep drawers for pots and a dedicated home for the small appliances that clutter every other counter? Naming the island's job first tells us where the plumbing, the outlets, and the deep drawers need to go, and keeps the finished piece from being merely decorative.
Lighting and Proportion
An island deserves its own light. We typically hang two or three pendants, odd numbers for longer islands, a pair for shorter ones, sized so they hold their own against the mass below and hung about 30 to 36 inches above the countertop so they illuminate without blocking sightlines. Like the rest of the kitchen, every fixture lands on a dimmer so the island can shift from bright morning prep to soft evening gathering. (For the other decisions that quietly make or break a kitchen, see our post on the 5 kitchen remodel mistakes we see most often.)
Because Olive + Baxter is both an interior design firm and a licensed general contractor, the island you approve on paper is the island our crew builds, plumbs, wires, and sets stone on, no handoff between designer and builder where the details get lost. If your kitchen is ready for an island that works as hard as it looks, explore our Kitchen Remodeling page or contact us to start the conversation.